

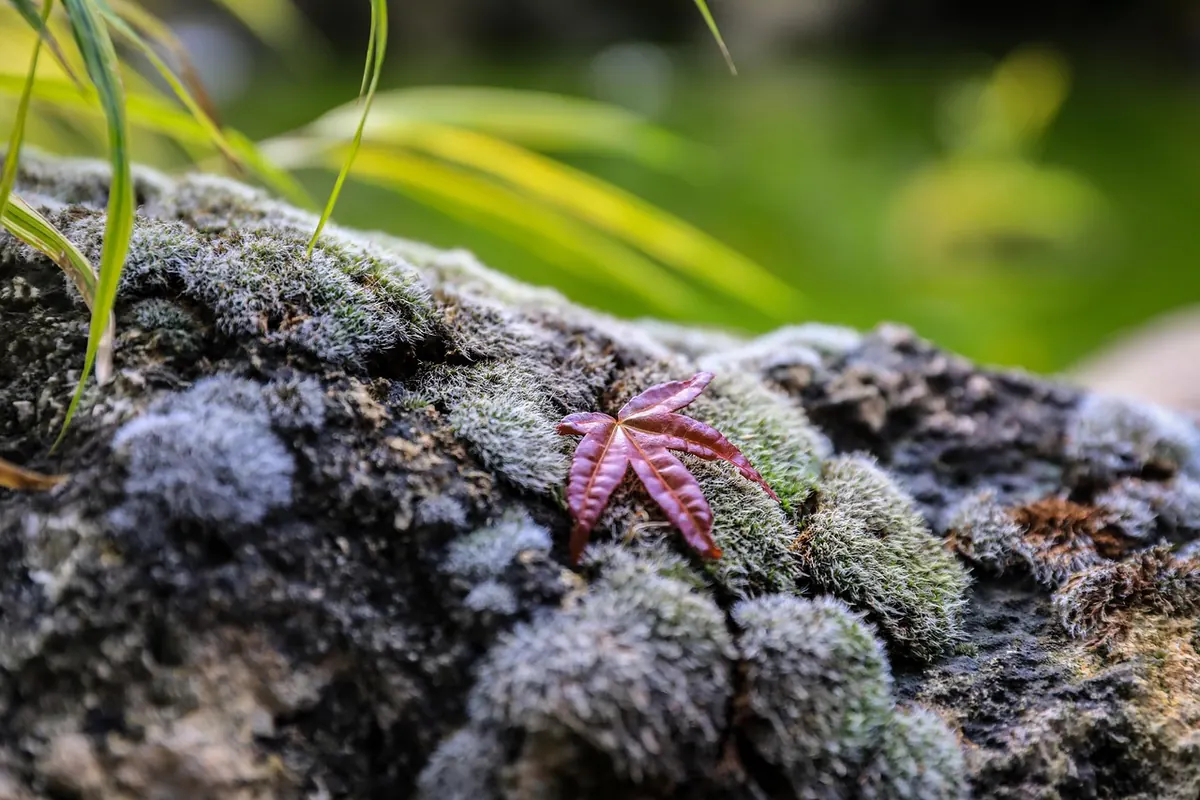




Most people walk past moss without seeing it. Then one damp afternoon they crouch down by a wall, notice that the green cushion under their hand is not one thing but several, and start wondering what they are actually looking at. That moment is the beginning of moss identification, and it is a genuinely good hobby for a wet island. Britain has roughly 700 species of moss, which sounds daunting until you realise that a small handful turn up again and again in gardens, walls, lawns and woodland. Learn those ten first and the rest become far less mysterious.
Identification rests on three questions, asked in this order: where is it growing, what shape are the leaves, and how does it hold itself? Habitat narrows the field faster than anything else. A moss on a shaded brick wall is unlikely to be the same species as one floating in a bog pool. After that, look at the leaves, ideally with a hand lens of 10x magnification, and note whether the shoots stand upright or creep along the surface. Colour helps, but treat it as a hint rather than proof, because light and moisture change it considerably.
Start with a hand lens and a damp day
Dry moss is stubborn. Leaves curl, twist and shrink against the stem, hiding the very features you need. A light misting from a water bottle, or a visit after rain, brings leaves back into their true shape within a minute or two. Carry a small spray bottle in your bag and you will identify far more than you miss.
A 10x hand lens is the single most useful piece of kit. Hold it close to your eye, then bring the moss towards it until it snaps into focus. You are looking for whether the leaf has a nerve or midrib running up it, whether the leaf tip is pointed or rounded, and whether the edges are smooth or toothed. These details are not visible to the naked eye, and guessing without them leads to confident errors.
Ten common mosses to know
The species below are widespread across the UK and cover most of the situations a beginner will meet. Names are given in their common form, with the scientific name in brackets where it helps.
1. Common cord moss (Funaria hygrometrica)
Look for this on bonfire sites, plant pots and disturbed ground. It forms loose, pale green tufts with a distinctive waisted capsule on a curved stalk, shaped a little like a pear. The leaves are broad and soft when damp. It is a coloniser, arriving quickly on bare, burnt or turned soil and vanishing as other plants move in.
2. Grey-cushioned grimmia (Grimmia pulvinata)
The classic moss of walls and roofs, especially limestone and concrete. It makes small, rounded cushions that look grey-green and hoary when dry, thanks to hair-like leaf tips. Wet it and the cushions turn a deeper green. Look for the capsules, which sit on short stalks and are held down among the leaves rather than lifted above them.
3. Wall screw-moss (Tortula muralis)
Also abundant on walls, often growing alongside grimmia. This one is brighter green, forms low tufts, and carries upright capsules on reddish stalks. The leaves end in a clear white hair point. When dry, the whole plant contracts into a tight, dark little cluster; after rain it opens out again within minutes.
4. Silky wall feather-moss (Homalothecium sericeum)
A creeping moss that mats over old walls and stonework in a golden-green, silky-looking sheet. Shoots lie flat against the surface and branch irregularly. Leaves are pleated when dry, giving the mat a slightly crinkled sheen. It prefers sheltered, less exposed walls than the two above.
5. Common feather-moss (Kindbergia praelonga)
The friendly, sprawling moss of damp lawns, flower beds and woodland edges. It looks distinctly fern-like: feathery branches spread out from a main stem, forming loose, sprawling patches rather than neat cushions. Colour varies from yellow-green to mid-green. If your lawn has soft, feathery patches that are not grass, this is a strong candidate.
6. Springy turf-moss (Rhytidiadelphus squarrosus)
Another lawn regular, and easy to spot once you know it. The leaves stick out at right angles from the stem, giving each shoot a starry, spiky look, and the tips curve backwards. It grows in loose, springy mats and is common on mown grass, especially where the lawn stays damp in winter.
7. Common haircap (Polytrichum commune)
A larger, sturdier moss of wet heath, bog edges and acid woodland. Shoots grow upright and tall, often several centimetres, with stiff, narrow, pointed leaves arranged around the stem rather like a bottle brush. Dense patches look like miniature conifer plantations. It is one of the easiest mosses to recognise from a distance.
8. Swan's-neck thyme-moss (Mnium hornum)
Widespread in woodland, particularly on banks, tree bases and acid soil. Shoots stand upright in loose, dark green tufts. The leaves are oval with a distinctly toothed edge, visible with a lens. The name comes from the young capsules, which curve over like a drooping neck before straightening.
9. Rough-stalked feather-moss (Brachythecium rutabulum)
Extremely common and extremely variable, which makes it a good one to learn early. It grows in creeping, slightly glossy green patches on soil, logs, stones and lawns. The stems are irregularly branched and the leaves are broad and egg-shaped. If you find a feathery moss in a general, unremarkable spot and cannot place it, this is often the answer.
10. Sphagnum mosses (Sphagnum species)
Not a single species but a genus, and the backbone of Britain's bogs. Sphagnum looks soft, spongy and star-like, with a pale, almost bleached colour that ranges through green, ochre and deep red. It holds water like a sponge and grows upward while the lower layers die off, forming peat. You will find it on wet heath, moorland and in boggy woodland. It is best appreciated in place; harvesting it from wild bogs damages fragile habitat.
A quick field routine
When you find an unfamiliar moss, work through the same steps each time. It keeps you honest and builds real recognition rather than vague impressions.
- Note the habitat and what the moss is growing on: soil, stone, bark, wood or peat.
- Mist the sample, then look with a 10x lens.
- Record growth form: cushion, mat, creeping sheet or upright tuft.
- Check leaf shape, tip and margin, and whether there is a visible midrib.
- Look for capsules and note their shape, colour and position.
- Write the date and place on a paper packet, and keep a small sample to check later.
Take photographs before you collect anything, and keep collection to a few strands from abundant patches. On protected sites, including many nature reserves and all Sites of Special Scientific Interest, collection is not permitted. Photographing and leaving the moss in place is always the safer choice.
Getting better at it
Learn five species thoroughly rather than skimming fifty. Choose ones from your own patch, whether that is a garden wall, a lawn or a local wood, and revisit them through the year. Mosses change with the seasons: capsules form and release spores, colours deepen in winter rain and fade in summer drought. That cycle will teach you more than any book alone.
A field guide with good photographs is worth the money, and the British Bryological Society's resources are the standard reference point for beginners wanting to go further. Joining a local recording group is the fastest route to improvement, because someone more experienced can name in seconds what you have puzzled over for an hour. Whatever route you take, look closely and look often. The moss under your feet is more varied, and more beautiful, than most people ever realise.
Photo: Wyxina Tresse / Pexels