

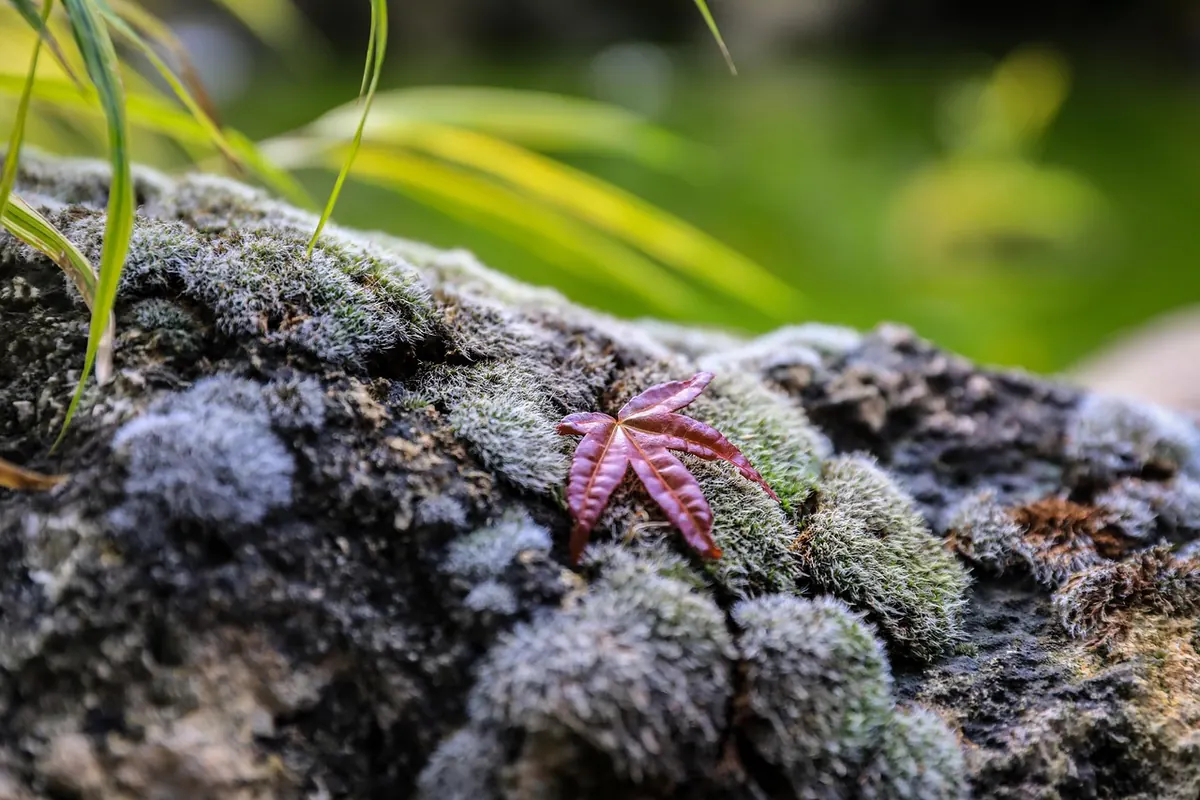



Moss is generous. Once you have one healthy patch, you have an almost endless supply of new plants — no seed packets, no cuttings, no cost. A colony that has settled into your garden, or a friendly local site where you have permission to collect, can be lifted, split and moved to new ground with nothing more than a knife, a tray and a bit of patience.
Growers call it division, though it is less formal than it sounds. You are breaking a mat of moss into smaller mats and giving each one a new home. Do it well and the pieces knit together within a season or two.
Why moss divides so easily
Moss has no true roots. Threads called rhizoids anchor it to soil, stone or bark, but they do not feed the plant the way roots do — moss takes its water and nutrients straight through its leaves. That means a fragment does not need to re-establish a root system before it can grow. Any piece that stays damp has the cells it needs to carry on.
A torn edge is not a wound to heal. It is a new growing point. Break a colony into twenty pieces and you have, in effect, twenty plants. That is why division is the quickest and cheapest way to spread moss over paving, walls, log piles and bare shady ground.
Before you take anything
Collecting moss is a pleasure, but it comes with a few rules that keep both you and the habitat out of trouble.
- Ask first. Take nothing from land you do not own or manage without the owner's permission.
- Avoid protected places. Nature reserves, Sites of Special Scientific Interest, churchyards with conservation management and similar sites are off limits. Sensitive habitats such as blanket bog and ancient woodland should be left alone entirely.
- Take from abundance, not scarcity. Harvest from the middle of large, vigorous colonies and leave the edges to creep outwards.
- Take little. A few palm-sized pieces from a big mat is plenty. Never strip a colony bare, and never lift tight cushion-forming species — they regrow very slowly.
- Leave anything unusual. If a moss looks rare — neat domes, odd colours, unfamiliar form — admire it and walk on.
If a colony is small enough that your visit would be noticeable, it is small enough to leave alone.
Match the moss to the place
This is where most transplants fail. Moss moved from damp shade to a sunny patio will sulk and die, however careful you are. Look at the conditions the moss is already thriving in, then look at where you want it to go.
- Silver thread moss (Bryum argenteum) — sunny, compacted, slightly neglected ground. Perfect for cracks between paving and gravel edges.
- Springy turf moss (Rhytidiadelphus squarrosus) — lawns, grass verges and shaded turf. Spreads willingly if you stop feeding the grass.
- Cushion and fern mosses (Hypnum, Dicranum) — walls, logs and general-purpose shade. Reliable almost anywhere.
- Feather mosses (Brachythecium) — average soil, both shade and half-sun. Fast to establish and hard to kill.
- Sphagnum — wet, acid, boggy ground only. Leave wild colonies where they are and buy from a specialist grower if you garden a bog.
Cushions and trailers
It also helps to know which growth habit you have. Acrocarpous mosses grow upright in cushions and tufts; they hold their shape well on vertical surfaces but spread slowly. Pleurocarpous mosses creep and interweave into loose wefts, and these are the ones to choose when you want ground covered.
Lifting and dividing, step by step
- Pick your moment. A damp day in autumn or early spring is ideal. Avoid the heat of midsummer and hard frost.
- Slide underneath. A palette knife, an old kitchen knife or a wide bolster works well. Ease it 1–2 cm below the surface and lift a whole sheet, keeping the mat intact.
- Keep it damp and shaded. Lay pieces on a tray or in a paper bag with a light misting. Never leave them in full sun.
- Divide. Cut or gently tear the sheet into squares roughly 2–5 cm across. Ragged pieces are fine.
- Use it soon. Fresh divisions within a day or two are best. If you must store them, keep them cool, shaded and lightly misted — moss sealed in a warm bag quickly turns sour.
The slurry option
For awkward surfaces — vertical walls, tree stumps, stepping stones — blend a couple of handfuls of moss with rainwater until it forms a thin milkshake. Pour, brush or spray it onto a damp, slightly roughened surface and keep it misted. Skip the buttermilk and yoghurt variations; dairy and sugar invite mould in warm weather, and plain water does the same job.
Rehoming your divisions
Preparation matters more than the planting itself.
- Clear the ground. Remove weeds, grass, leaf litter and debris. Moss cannot compete with vigorous plants.
- Rough up smooth or compacted surfaces with a fork or wire brush so the rhizoids have something to grip.
- Skip rich soil and mulch. Moss prefers lean, bare, slightly acidic surfaces: soil, stone, brick, old timber, concrete.
- Press firmly. Bed each piece down so there are no air pockets beneath it. Contact is everything.
- Water with rainwater if you can. Tap water in hard areas is alkaline and, over time, discourages many mosses.
On paving, simply fit pieces into the joints and brush fine sand or soil around the edges. On slopes, hold divisions in place with bent wire pins until they grip.
The first few weeks and months
Keep new patches consistently damp for the first month — think damp, not soaked. A daily mist in dry spells does more good than a weekly drench. Shade them from strong afternoon sun if the site allows, and keep off them entirely: footsteps on young moss press it into the surface and tear it apart.
Do not fertilise, and do not rake. Fertiliser feeds the grass and weeds that will outcompete your moss. Remove fallen leaves by hand or with a soft brush, and stay patient — a patch that looks unconvincing in March often fills in by autumn.
Building your own supply
Once a division has settled, it becomes a donor. Lift small pieces from your own established patches each spring, thin the thickest areas, and move the offcuts somewhere new. Many gardeners keep a shallow tray of spare moss in the shade, kept damp, as a nursery for patching bare spots.
Work like this and the cost stays at zero while the collection grows. Take a little, leave plenty, and give each division conditions close to the ones it came from — that is the whole method, and it rarely fails.
Photo: Anna Shvets / Pexels