

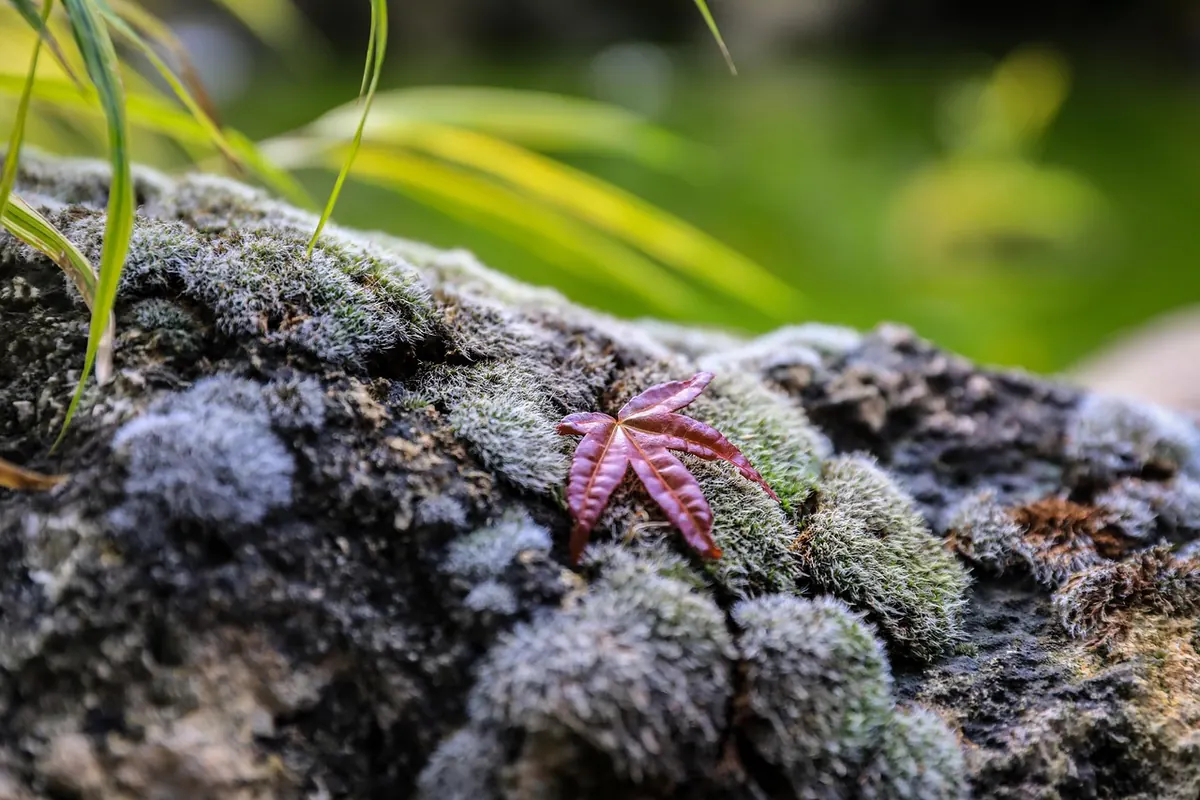




A wall that has grown its own coat of moss looks as though it has always been there. Green cushions tucked along the mortar joints, a soft fuzz on north-facing brick, the whole thing reading as age and shelter and damp British weather. Most people assume it is pure luck. It is not entirely luck — moss is a patient colonist, and it moves faster when you give it the right surface, reliable moisture and a small handful of living moss to start from.
This is a job measured in seasons, not weekends. Do it properly and a bare garden wall can look fifty years older by this time next year.
Why some walls turn green and others stay bare
Moss has no roots. It takes water and minerals straight through its leaves, which is why it can live on a vertical surface at all — and why it shrivels the moment that surface dries out. Three things decide whether a wall suits it.
Moisture. North and east-facing walls, walls under trees, walls beside a downpipe or beneath a leaking gutter, retaining walls with soil behind them: these stay damp for hours after rain. A south-facing wall in full sun is a different climate altogether. The difference is not subtle. A north-facing garden wall in Manchester can stay visibly damp for two days after a shower, while a south-facing wall thirty feet away is bone dry by lunchtime. Stand outside after rain with a hand on both and you will feel immediately which one is worth planting.
Texture. Sandstone, limestone, old brick and lime mortar are porous and slightly rough, so water clings to them. Glazed brick, slate, flint, painted render and anything treated with a water-repellent sealer give moss almost nothing to hold on to. Run a fingernail across the surface: if it crumbles or powders even slightly, moss will grip. If it rings like a tile, it will not.
Chemistry. Most mosses prefer slightly acidic conditions, which is why they colonise old brick and sandstone so readily and lime mortar more slowly. Wall screw-moss and grey-cushion moss, however, are common on mortar and concrete right across the UK, so treat this as a preference rather than a rule.
One more factor hides behind all three: shelter from wind. A dry, exposed wall loses its moisture to moving air even without sun, so the still corner behind a shed will always green up before the breezy gable end.
Choose the right moss, and source it locally
The best material you can get is the moss already growing on walls, steps, kerbs and paving within a mile of your garden. It has proved it can survive your rainfall, your summers and your water supply. Never take moss from a nature reserve, a Site of Special Scientific Interest, a churchyard wall you do not own, or anywhere you would need permission — a handful from your own path or a neighbour's wall (with a word first) is plenty.
- Wall screw-moss (Tortula muralis) — small grey-green tufts with reddish stems, a classic mortar-joint species.
- Grey-cushion moss (Grimmia pulvinata) — tight silver cushions on stone and concrete, extremely drought-tolerant.
- Silver thread moss (Bryum argenteum) — pale and compact, good on brick and paving.
- Purple fork moss (Ceratodon purpureus) — green turning rusty red, quick to establish in cracks.
- Hypnum species, such as Hypnum cupressiforme — feathery and creeping, excellent for shadier, damper walls.
- Common feather moss (Brachythecium rutabulum) — coarse and vigorous, useful for filling in fast.
Mix species rather than planting one. A blend looks more natural, and if one sulks through a dry August the others keep the wall green.
Preparing the wall: clean, key and dampen
Skip the preparation and the slurry will simply slide off or dry out before it can attach.
- Scrub the surface with a stiff brush to remove loose grit, cobwebs, dust and flaking paint. Do not use a biocide or a patio cleaner — you are trying to encourage life, not sterilise the wall.
- Rough up very smooth faces. A wire brush, a hand-held wire scratcher or a light going-over with coarse sandpaper gives the moss something to catch on. On brick, work along the mortar joints, which are the natural seedbeds.
- Wet the wall thoroughly the day before, and again an hour before you apply anything. Dry brick wicks water away from the moss and kills the transplant before it starts.
- Test the aspect. If the wall faces south or west and bakes, plan to start in autumn rather than spring, so the moss has months of cool, damp weather to establish before its first summer.
Two ways to apply it
The slurry method
Take a good handful of fresh, clean moss — knock the soil off, keep the green. Blitz it in a blender with about 300ml of water, or half water and half milk, until it looks like a thin milkshake. Buttermilk and beer are traditional additives, but plain water works and attracts fewer flies. Paint the mixture onto your damp wall with a brush or spray it on, working it well into the mortar joints and any hollows. Aim for a thin, even coat rather than a thick sludge, which tends to peel.
The transplant method
For a more immediate effect, press small clumps of moss directly into the mortar joints and cracks, firming them in with your thumb. Wedge larger cushions into the wider gaps and let them knit themselves in over the winter. This looks better on day one than a slurry and gives you a patchwork that spreads outwards by itself.
Use both. The slurry seeds the whole wall; the transplants give you anchor points that survive a dry spell.
Keep it damp for six weeks, then leave it alone
Establishment is the vulnerable stage. Mist the wall every day or two for the first fortnight, then twice a week for a month, ideally in the early morning so the moisture has time to soak in before the sun arrives. After that, taper off and let the British weather take over.
Resist the urge to feed it. Mosses get what they need from rain and dust, and a general garden fertiliser will simply hand the wall to algae, weeds and grass. Never scrub the wall clean in its first year, and do not despair in a hot, dry July — moss can go brown and apparently dead, then green up again within hours of the first proper rain. That is not failure, it is dormancy, and it is exactly how the stuff survives on a wall in the first place.
Common mistakes
- Starting in summer. Autumn is the best window in the UK, with spring a close second.
- Planting on the sunny side. Match the moss to the aspect, or accept that the wall will only ever green up in patches.
- Using tap water in a hard-water area. Rainwater is better for both the slurry and the misting.
- Painting over sealer. A water-repellent wall will shed your slurry and never hold moss; pick a different wall.
- Expecting instant results. A good year, and a great deal of patience, is a realistic timescale.
Where not to grow moss
Moss holds moisture against whatever it sits on, and that is usually a virtue on a garden wall — but not always. Avoid encouraging it on walls that are about to be repointed, on listed or historic structures where consent is needed, on timber sills and door frames, and on any retaining wall where damp is already showing inside a building. Copper and zinc flashings and leadwork will also keep moss at bay, because the metal salts that wash down are toxic to it; a wall beneath a lead roof will always be a struggle.
Get it right and the reward is a wall that looks like it has been weathering since before you were born — and that keeps on improving, quietly, every damp winter after that.
Photo: Pam Crane / Pexels