





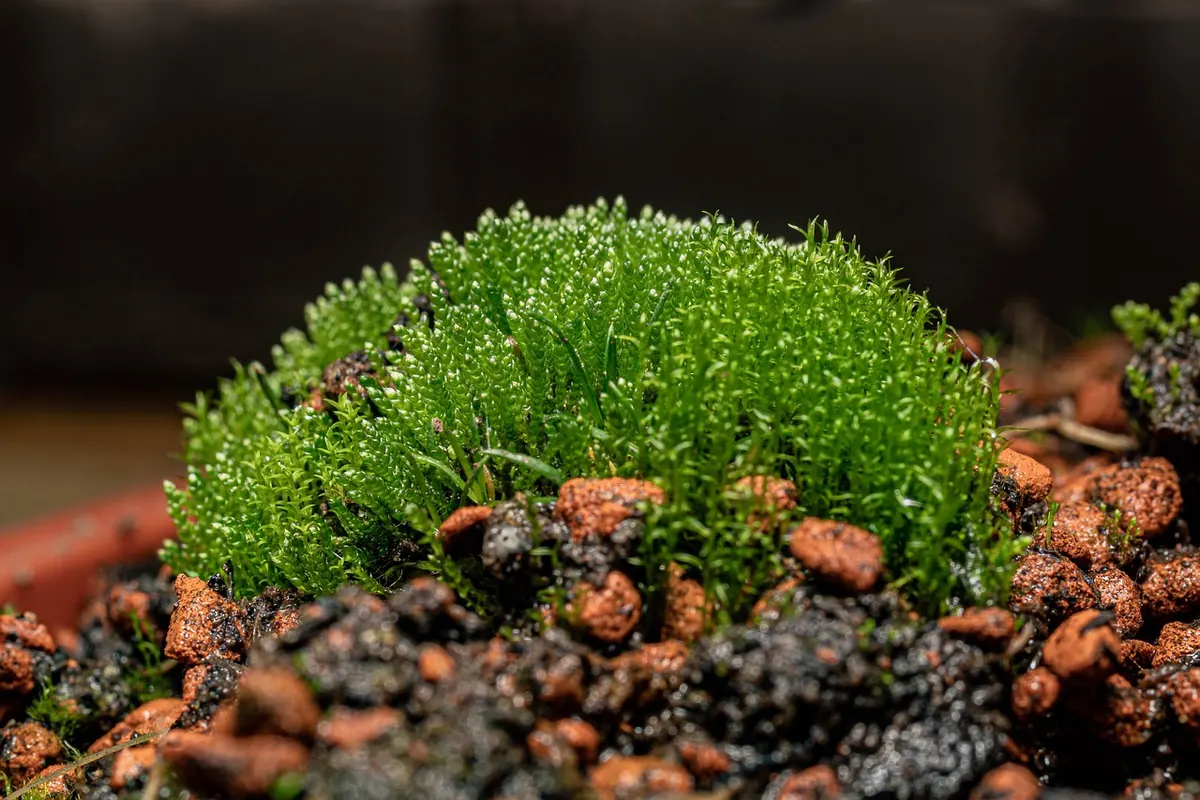
Moss does not ask for much, but it notices everything the weather does. A carpet that looks rich and velvety in a damp October can shrivel to a brown mat by mid-July — and that is usually dormancy, not death. The trick to keeping garden moss looking well across a full UK year is to work with the calendar rather than against it. What follows is a month-by-month guide to watering, shading, trimming and winter protection, grouped by season so you can dip into the relevant weeks when they arrive.
Winter protection: December to February
Cold alone rarely troubles garden moss; most species here are hardy and have seen worse. The real risks are standing water that freezes around the base, a blanket of wet leaves, and feet.
Never walk on frozen moss. It is brittle, snaps rather than bends, and the fragments do not knit back together easily. A shortcut worn across a moss lawn in January can still be visible next autumn. Keep to stepping stones or a defined path, and if you have to cross, wait until midday when any frost has lifted.
Clear fallen leaves and twigs with a soft rake or by hand. A mat of wet leaves blocks light, holds moisture against the surface and leaves yellow patches underneath. Check gutters, low corners and anywhere water pools, because a puddle that freezes and thaws repeatedly will lift moss off its base. Watering is almost never needed now — the exception being a mild, dry, windy spell, when a light mist on moss in containers or on a sunny wall does no harm.
Winter is also the best time for structural work: laying edging, resetting stones, building a shade frame. The moss is dormant, so disturbance costs you less.
Early spring: March and April
Walk the garden properly and make notes. Patchy brown is normal after winter. Black, slimy, sour-smelling patches are a different problem: usually waterlogged, airless ground, sometimes with algae on top. Lift the affected area, improve drainage with a little grit or coarse sand beneath, and press healthy moss back into place.
This is the first proper trim of the year. Use sharp shears, or a mower or strimmer on its highest setting, and take off no more than the top third. Then go over the area with a light rake to lift the clippings — left behind, they smother the moss and feed weeds.
If March and April turn dry, start a gentle watering routine. Spring and early autumn are the two best windows for transplanting moss into bare patches, so take advantage of the damp.
Late spring: May and June
Shade becomes the priority. As the sun climbs, moss in an open, south-facing spot can scorch within a fortnight. A 50–70% shade cloth stretched over a simple frame works well, but deciduous shade is better still: leafy in summer, open in winter when the moss wants light.
Water in the morning where you can. Evening watering leaves the surface wet overnight, which in warm weather invites algae and fungal problems. Rainwater from a butt is preferable to tap water in hard-water areas, where repeated use leaves a lime deposit that moss dislikes.
Water thoroughly and less often rather than little and often. A quick sprinkle wets only the surface; a good soak reaches the soil or pad beneath, which is where the moss actually draws its moisture.
High summer: July and August
This is the hard stretch. Moss curls, pales and turns brown, and it is tempting to conclude that it has died. It almost certainly has not. Resist digging it out.
Water early in the morning or after the heat has gone from the day, two or three times a week during a prolonged dry spell, and back off as soon as rain returns. Avoid watering in full sun on a hot afternoon; the shock of cold water on warmed moss does it no favours. Skip feeding entirely — extra nutrients encourage grass, weeds and algae rather than helping moss, which takes what it needs from rain and dust.
Keep foot traffic off, and check containers and wall moss daily, as they dry far faster than ground beds. Leave the shears in the shed; growth is slow and the moss needs every bit of tissue it has.
Autumn: September and October
This is the recovery window and the busiest, most rewarding time of year. Growth picks up, colour returns, and the moss is forgiving of intervention.
Trim, rake and clear debris. Repair bare patches, and top-dress thin areas with a fine, low-nutrient mix — sieved soil with plenty of sand or grit is the usual approach. The transplanting method is simple:
- Lift small clumps from a healthy patch, keeping the base intact.
- Press them firmly into the bare ground so the underside makes good contact.
- Keep them damp for the first few weeks.
- Shade from strong sun until they have visibly settled and started to spread.
Natural rainfall usually does the watering from here, though a dry September is worth topping up.
Late autumn: November
Have one last tidy before winter closes in. Clear leaves from lawns, paths and the foot of walls, where they collect and rot. A final light trim is fine, but leave it at that — fresh cuts going into a frost are more vulnerable than untouched growth.
Check drainage now rather than in January, when you will not want to be out there with a fork. Moss in exposed containers can be moved against a sheltered wall for the coldest weeks. For most established garden moss, fleece and covers are unnecessary; cold is rarely the problem.
The habits that carry you through the year
Keep a short log. Note when you watered, when you trimmed, and what the moss looked like afterwards. Your own garden's microclimate matters more than any general rule — a north-facing wall in a damp western city behaves nothing like a sunny patio in the south-east.
A few habits do most of the work:
- Soak the base, not just the surface.
- Shade in summer, light in winter.
- Trim little and often, never more than a third.
- Keep leaves and debris off.
- Do not panic when it browns in a dry spell.
Moss is slow, and that is part of its charm. Follow the seasons, keep the small jobs small, and by next autumn you will be looking at a carpet rather than a patch.
Photo: kleinmoni59 / Pixabay