


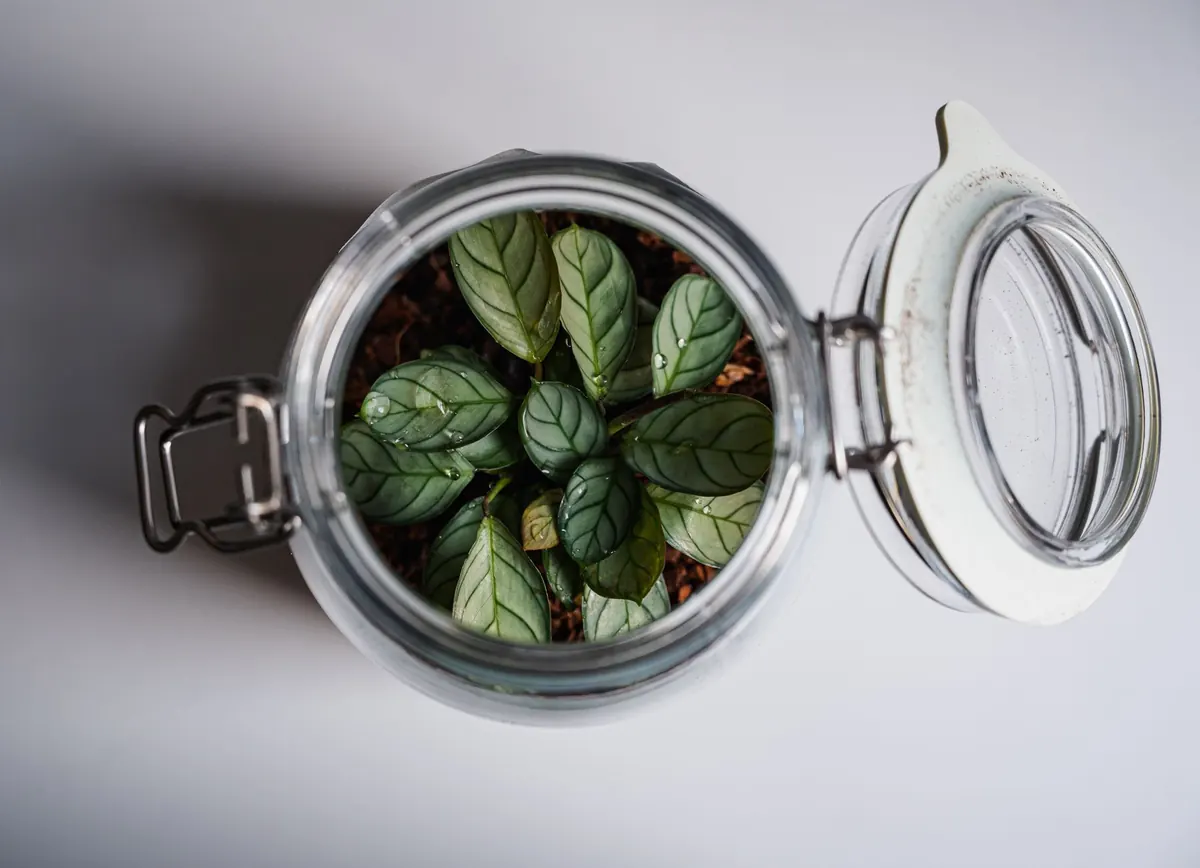
Give a jar a lid and it stops being a pot and starts being a system. Moisture rises, condenses on the glass, runs back down into the soil, and the moss carries on doing what it has done in British gardens and woodlands for a very long time: growing slowly, quietly, and outliving most of what you plant beside it.
Native mosses suit a closed terrarium because they are already tuned to British conditions — our light levels, our damp, our cool summers. Get the layering and the moisture balance roughly right and a lidded jar will look after itself for weeks at a time. Get them wrong and you will have a green soup by the end of the month. This guide covers choosing species, building the layers, and reading the glass so you know when to step in.
Why native moss suits a closed jar
Most houseplants compete for light and wilt the moment you forget them. Moss works the other way round. It has no true roots, takes in water and nutrients across its whole surface, and tolerates drying out — a patch that looks dead in August can green up again after a week of rain.
In a sealed container, the water you add at the start keeps circulating. Humidity stays high, so watering becomes a rare event rather than a weekly chore. The trade-off is that a closed jar has no drainage and very little airflow. That is precisely why the substrate layers and the initial moisture level matter more here than in an open pot.
Choosing UK mosses for a small space
Walk almost anywhere in Britain and you will pass a dozen species without noticing. Some make excellent terrarium subjects; a few sulk in captivity. The most reliable choices are the ones already coping with disturbance — lawn mosses, wall mosses, the stuff that survives being walked on.
- Common feather-moss (Kindbergia praelonga) — spreading, deep green, forgiving. The best all-rounder for covering a substrate surface.
- Neat feather-moss (Pseudoscleropodium purum) — fat, pale-tipped stems that form chunky mounds. Good for a focal clump.
- Springy turf-moss (Rhytidiadelphus squarrosus) — the starry moss of garden lawns. Brighter green and slightly more demanding about moisture.
- Cypress-leaved plait-moss (Hypnum cupressiforme) — creeping and fine, happy on bark, stone and wood. Let it drape over hardscape.
- Common tamarisk moss (Thuidium tamariscinum) — fern-like and delicate. Beautiful, but wants shade and steady damp.
- Common haircap (Polytrichum commune) — tall and upright, with more of a root-like base. Suits a larger jar where it has room to stand up.
Three or four species with contrasting textures will look better than a dozen crammed together. One caution: moss collected from deep woodland shade often resents the brighter light inside a jar near a window, while moss from a wall top or a lawn will shrug it off. Match the source to the spot you have in mind.
Collecting responsibly
Start in your own garden. If the land isn't yours, ask first — uprooting wild plants without the landowner's permission is an offence in the UK, and nature reserves and protected sites carry their own restrictions on top. Lawn edges, patio cracks, the tops of old walls and the bases of trees are all good hunting grounds, and taking a small patch from any of them causes no real harm.
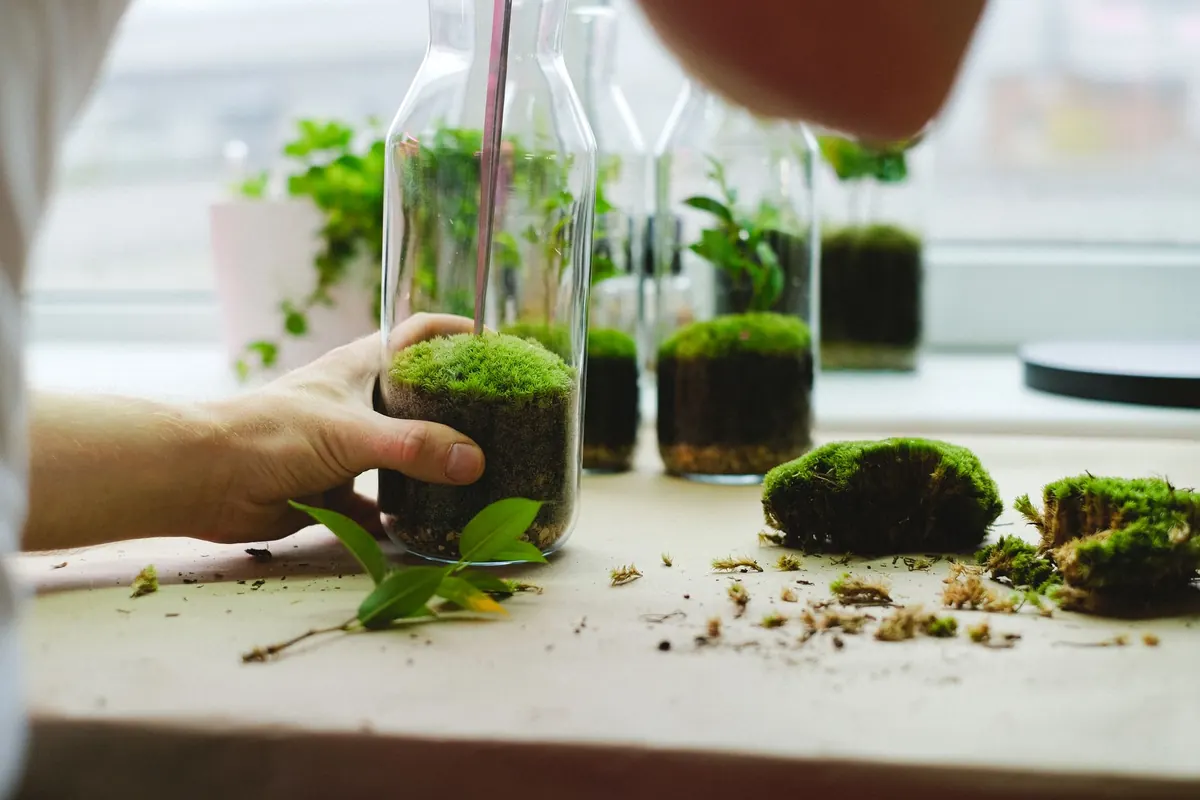
Slide a palette knife or old table knife under a patch about the size of your palm, lift it with the thin layer of soil still attached, and lay it flat in a tub. Leave at least half of any colony behind, and press the remainder back down. Plant your collection within a day or two; moss left in a bag goes sour quickly.
Layering the substrate
- Drainage layer. Two to three centimetres of washed grit or small pebbles. In a sealed jar this is insurance rather than plumbing — it gives excess water somewhere to sit if you over-mist.
- Charcoal. A thin sprinkle of horticultural charcoal is traditional. It won't rescue a waterlogged jar, so treat it as a nice-to-have.
- Soil. Four to six centimetres of a loam-based mix, or roughly equal parts peat-free multipurpose compost, leaf mould and grit. If your moss came from an acidic woodland floor, an ericaceous mix will suit it better.
- Firm and level. Press the surface flat with the back of a spoon. Moss needs firm contact with damp soil, not a loose crumb it can hover above.
- Hardscape. Add stones, slate or cork bark before planting. Cork and well-seasoned hardwood resist mould better than fresh twigs, which rot in a sealed jar.
Planting, watering and sealing
Water the soil before you plant, not after. Aim for the squeeze test: a handful should hold together in your fist without a drop running out. If it drips, it's too wet — leave the jar open overnight.
Tear your moss into pieces and press each one down firmly. Then mist the surface lightly, put the lid on, and leave it alone for a fortnight. The moss may look dull or slightly brown for the first few weeks; that is establishment, not failure. Resist the urge to keep adding water.
Reading the glass: light and humidity
The glass tells you almost everything. A thin film of condensation in the morning that clears by mid-afternoon is exactly right. Fog that never lifts, with water running down the sides, means too wet — take the lid off for a few hours. Glass that stays completely dry for days means too dry, so mist and reseal.
For light, aim for bright but indirect. A north or east windowsill is ideal; if you only have south-facing glass, set the jar a metre or two back. Direct summer sun turns a sealed jar into a greenhouse and can cook moss in an afternoon.
Temperatures between roughly 16°C and 21°C suit most native species, with a cooler position overnight doing no harm at all. Keep jars away from radiators. Use rainwater where you can; tap water leaves limescale on the glass and gradually adds salts to the soil.
Keeping it going
Add a small culture of temperate springtails if you can get them. These tiny soil-dwellers eat mould and decaying plant matter and are the closest thing to a maintenance team a jar can have. If white fluffy mould does appear, wipe it away, leave the lid off for a day, and check your moisture level.
Beyond that, the work is minimal. Trim moss that creeps up the glass, remove any yellowing leaves before they rot, and open the lid for an hour every month or two to let the air change. Expect growth measured in millimetres rather than centimetres — a well-made jar will quietly tick over for years, needing little more than an occasional glance at the glass.
Photo: Luca Severin / Pexels